Uploading NFT Collection Using NFT.Storage (Script)
This guide is best suited for creators who wish to automate the process of uploading their NFT assets and metadata using NFT.Storage.
It is particularly useful for collections with a very large number of assets.
1. Get API Key
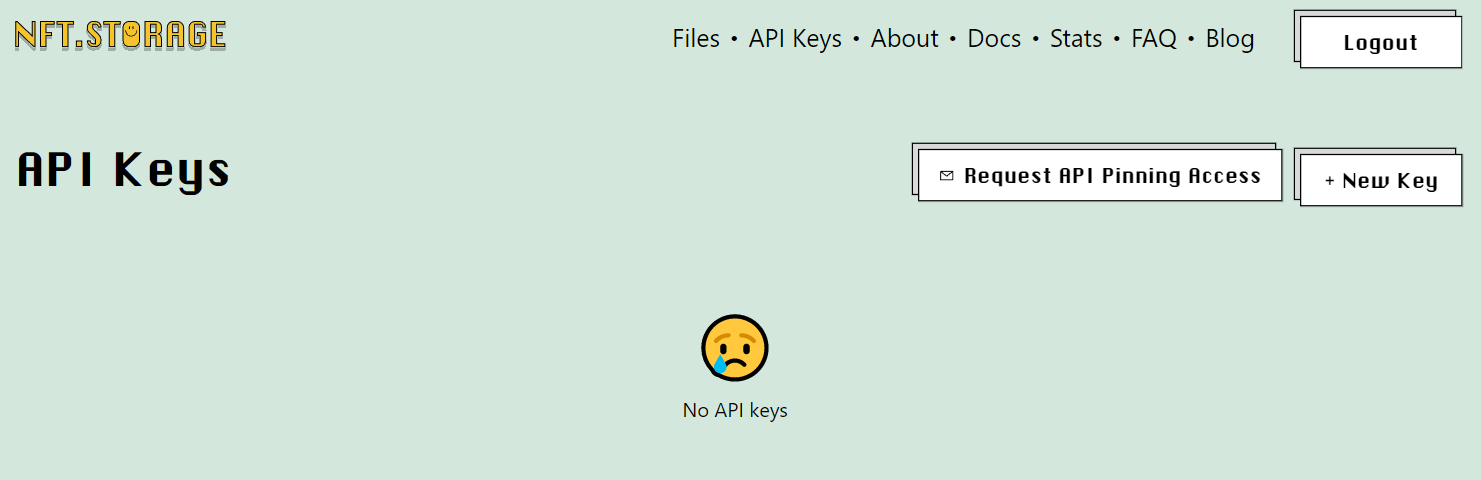
Head over to the API keys section after signing up for NFT.Storage.
Here, click “+ New Key”
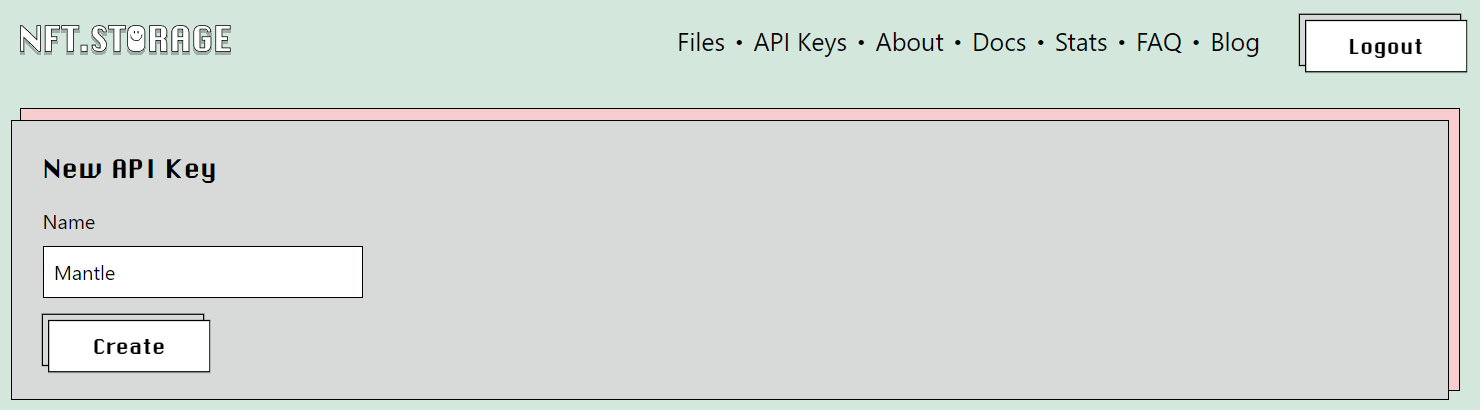
Give a name to this API key.
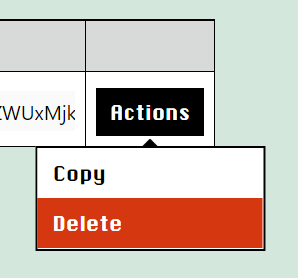
Now, the creators can view their API key and perform actions such as copying or deleting the same.
2. Install Node.js
Please ensure that all assets are named numerically in a sequential manner.
sudo npm i -g npm@latest
sudo npm i -g yarn@latest
sudo npm i -g ts-node@latest
3. Create Project Directory
Create an nft-upload-project directory.
Move your images and metadata folders there.
mkdir nft-upload-project
cd nft-upload-project
# Folder Structure
Project
├── nft-upload (tool folder)
    ├── images (assets/images folder)
    ├── metadata (metadata folder)
4. Install Dependencies
# Install dependencies
# Change your directory to script folder
cd nft-upload
yarn install
5. Use API
Now, use the API that was created in step 1.
Paste that APIKey in config.js file (nftStorageAPIKey) there.
6. Run the Script
yarn web3-storage-upload
Summing Up
Note: Install nodejs in your system
sudo apt install nodejs npm -y
sudo npm i -g npm@latest
sudo npm i -g yarn@latest
sudo npm i -g ts-node@latest

# Create a nft-upload-project directory
# Move your images and metadata folders there
mkdir nft-upload-project
cd nft-upload-project

# Folder Structure
Project
├── nft-upload (tool folder)
    ├── images (assets/images folder)
    ├── metadata (metadata folder)

# Install dependencies
# Change your directory to script folder
cd nft-upload
yarn install

# Create an API on nft.storage and Copy that API key

# Paste that APIKey in config.js file (nftStorageAPIKey) there.
yarn nft-storage-upload