Uploading NFT Collection Using Web3.Storage (UI)
Web3.Storage is an IPFS node operator that can be used to pin data in IPFS.
To begin with, creators are required to create directories that would hold their images and metadata.
These would then be compiled into a single IPFS CAR (Content Addressable aRchive) file that can be uploaded.
Consolidate all images into the /images folder.
This documentation will use sample images for the purposes of explanation.
Uploading Assets to NFT.Storage
Pack the assets into a .CAR file or upload each of them manually.
1. Visit Web3.Storage and Click ‘Start Storing Now’

2. Click ‘Upload Files’
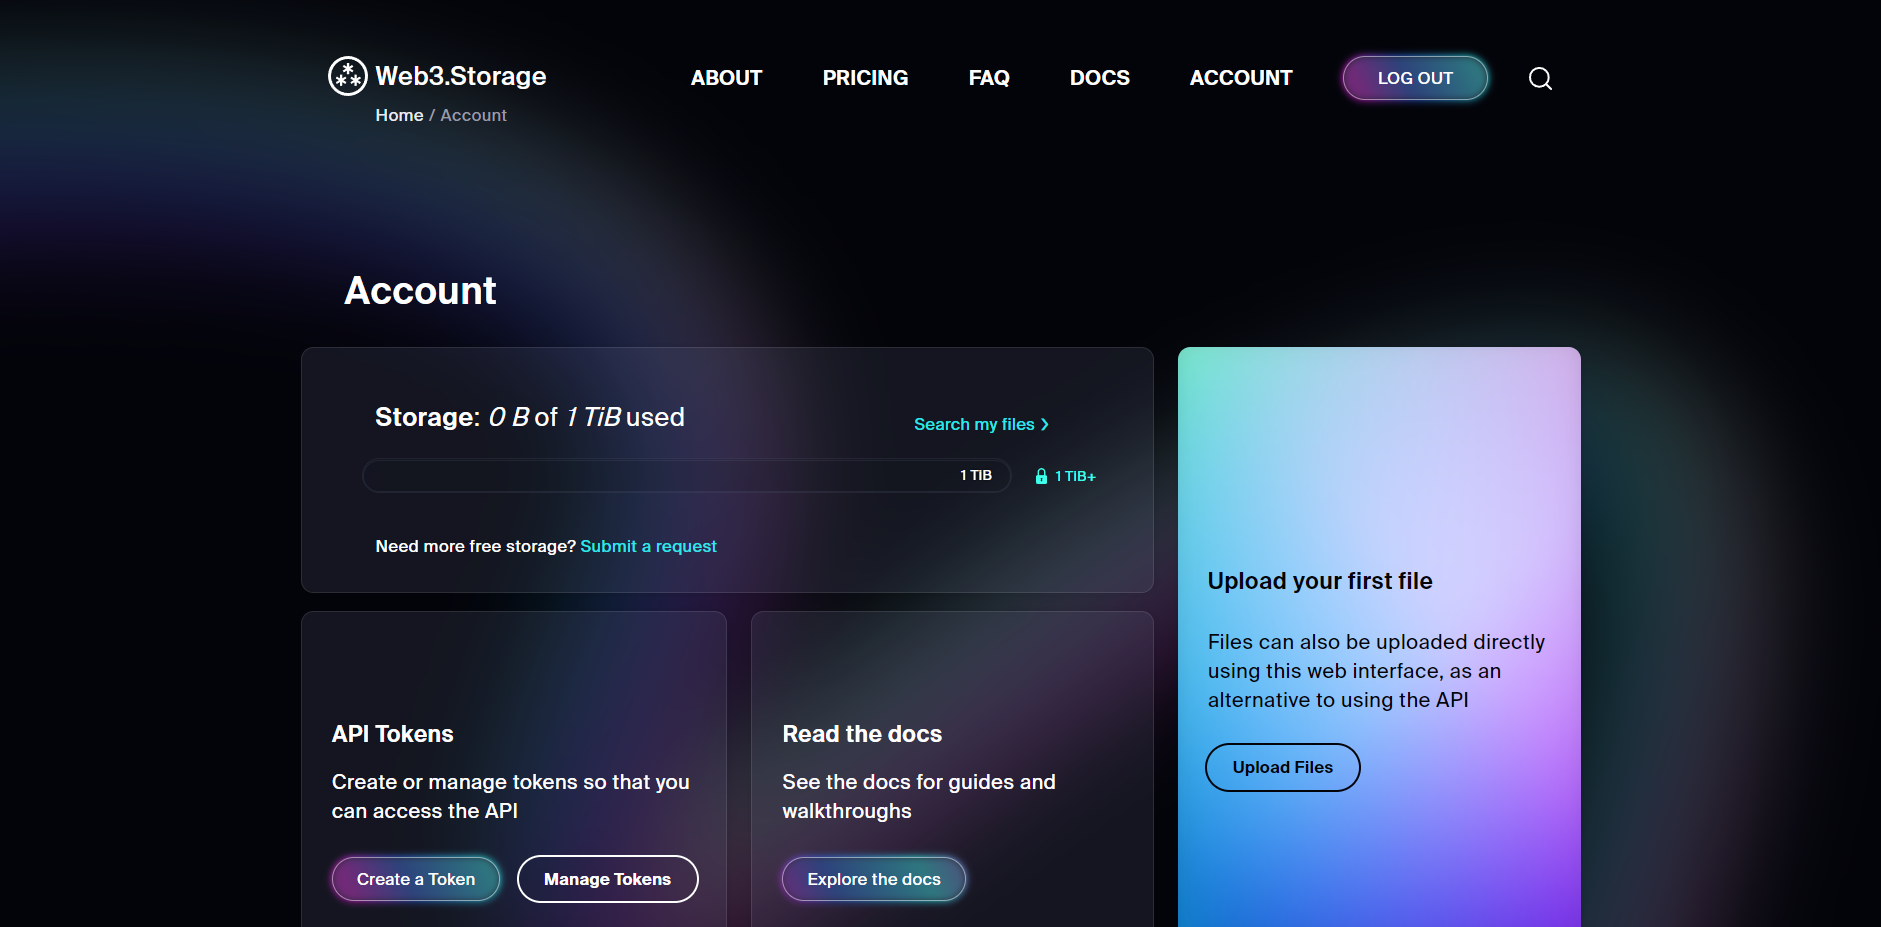
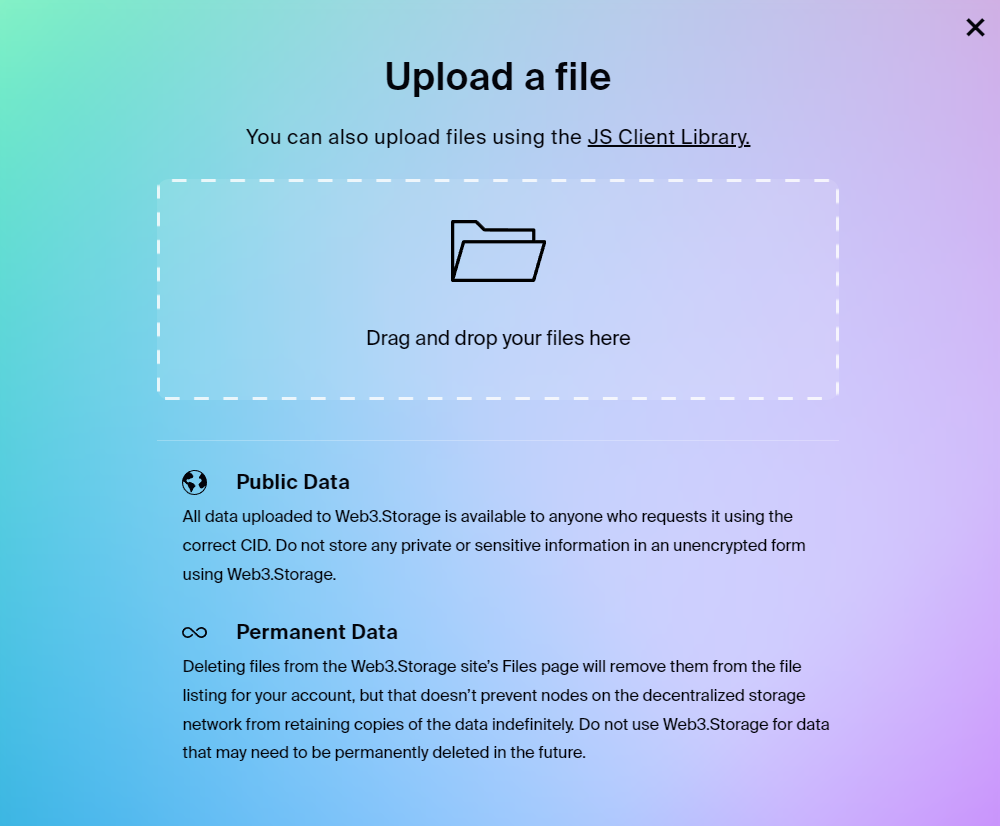
3. Drag and Drop Your Files As Show
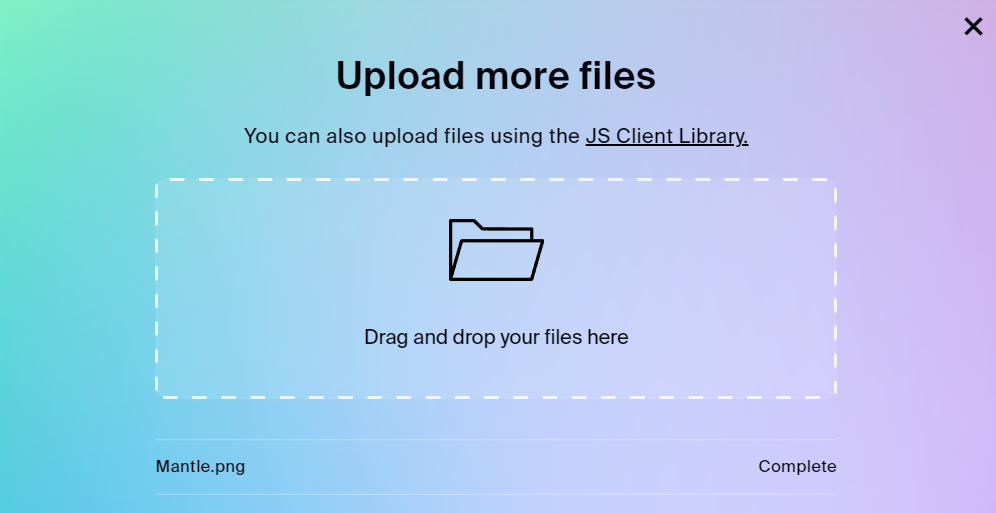
The uploaded file can be viewed as shown below.
4. View The Details
Click on ‘Search my files’ or scroll down the page.
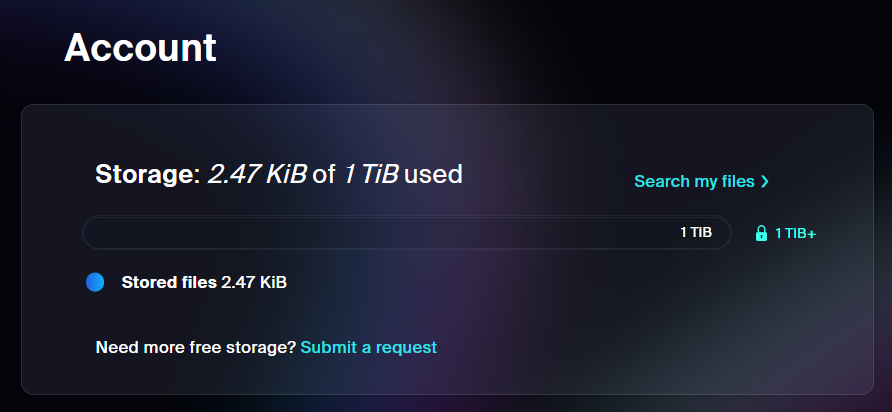
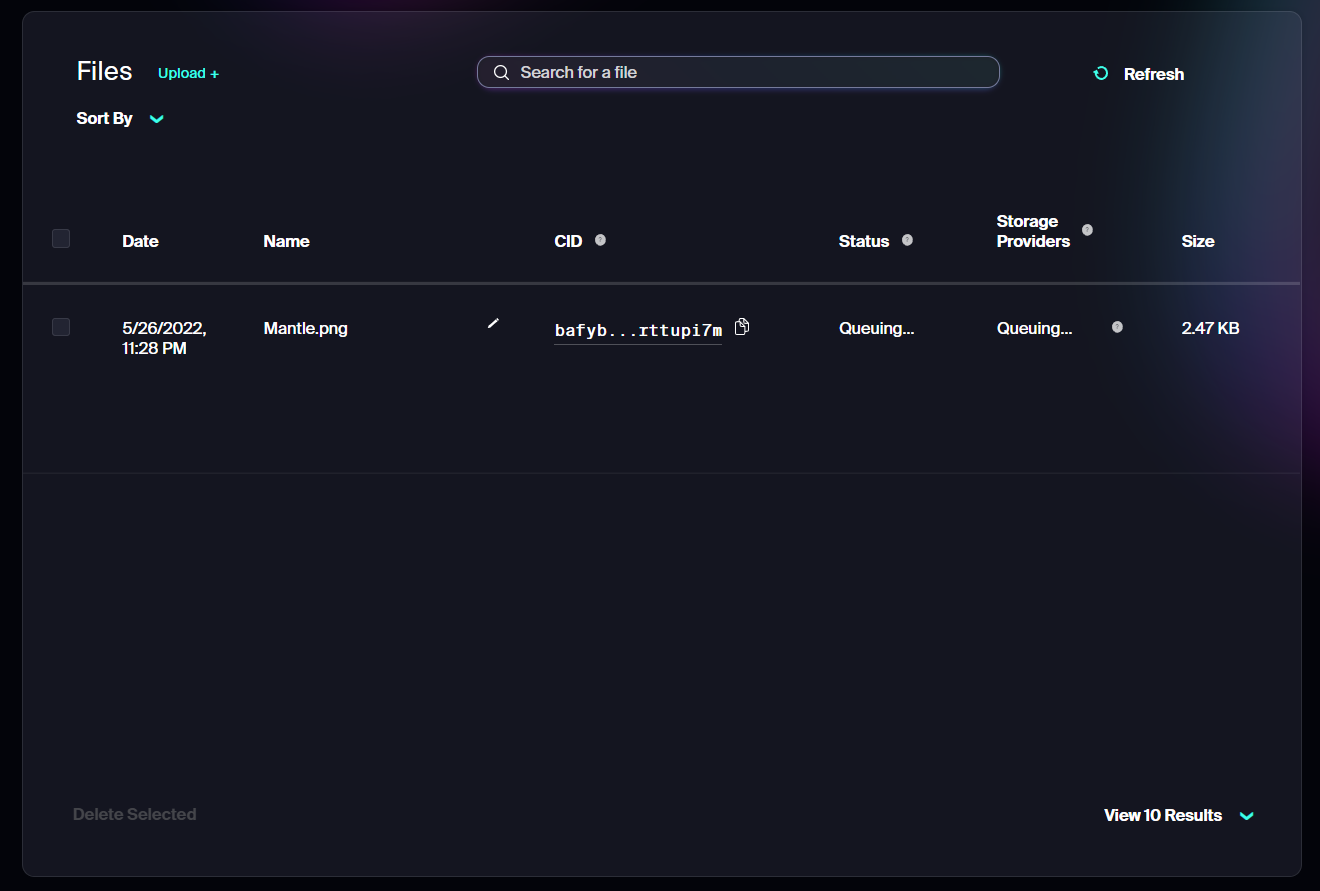
Here, the creator will be able to view details such as CID, Status, and more.
The creator can also perform actions like deleting the file or copying the IPFS URL as illustrated below.

Uploading Metadata to Web3.Storage
Pack the metadata files into a .CAR file or upload each of them manually.
1. Structuring of the Metadata
Note: Steps are same as NFT.Storage.upload
Note: Install nodejs in your system
sudo apt install nodejs npm -y
sudo npm i -g npm@latest
sudo npm i -g yarn@latest
sudo npm i -g ts-node@latest

# Create a nft-upload-project directory
# Move your images and metadata folders there
mkdir nft-upload-project
cd nft-upload-project

# Folder Structure
Project
├── nft-upload (tool folder)
    ├── images (assets/images folder)
    ├── metadata (metadata folder)

# Install dependencies
# Change your directory to script folder
cd nft-upload
yarn install

# Create an API on web3.storage and Copy that API key

# Paste that APIKey in config.js file (web3StorageAPIKey) there.
yarn web3-storage-upload
2. Upload Metadata Files to NFT.Storage
Repeat steps 2 through 4 as shown above.